So, you’ve got a box of unpainted miniatures from the staring back at you from your hobby desk, and you’re ready to bring them to life? Great. Painting miniatures can seem a bit daunting at first, especially with all the techniques and supplies available. But I’m here to break down how to paint miniatures, even if you’re a complete newbie. This isn’t about churning out an army overnight—this is about savoring the process and getting your minis tabletop-ready .We’ll explore how to choose the right miniatures for beginners, what are the essential supplies, basic painting techniques and some advanced techniques, and tips for creating eye-catching models.
Table of Contents:
- Getting Started: What You’ll Need for Miniature Painting
- Preparing Your Miniatures
- Painting Your Miniature
- Level Up Your Miniature Painting
- Protecting Your Painted Miniature
- FAQs about How to Paint Miniatures
- Conclusion
Getting Started: What You’ll Need for Miniature Painting
Jumping headfirst into miniature painting without the right gear can lead to frustration; believe me, I’ve been there. Choosing the right supplies, significantly as a beginner, can greatly influence your initial experience. It is advisable to spend time researching what more advanced miniature painters use. You might have noticed that specific paint brands and their different shades keep reappearing in tutorials or forum discussions because they’re famous.
Choosing Your First Miniatures
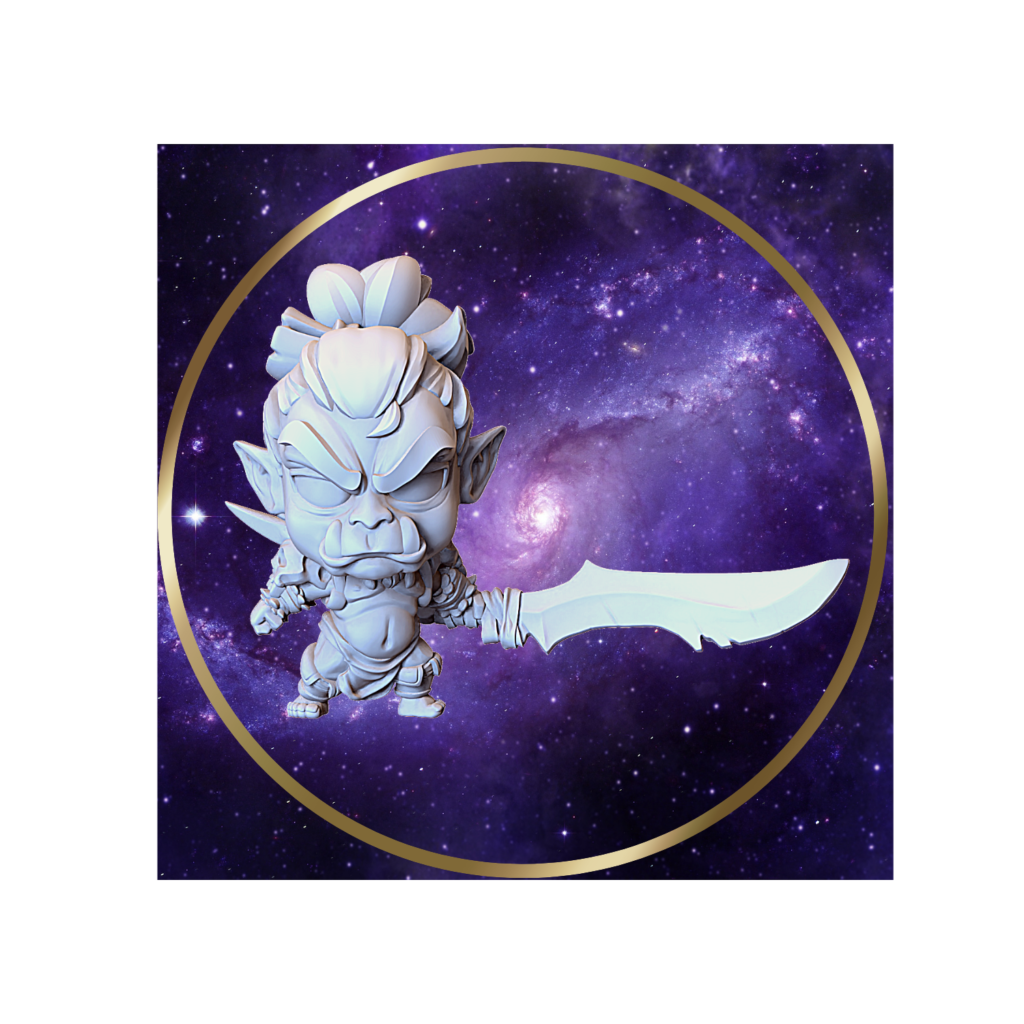
When figuring out how to paint miniatures for the first time, my biggest advice is don’t go overboard buying a ton of models. A small set or even a miniature is perfect for getting your feet wet. Believe it or not, I began with a simple, unassuming miniature from a local game store—nothing fancy. Also, consider what excites you—a fearsome dragon for a fantasy setting or perhaps a brave soldier from a historical wargame. Starting with a miniature that genuinely interests you will make the process far more rewarding.
Assembling your Miniature Painting Tools and Materials
Let’s talk tools. Thankfully, getting set up won’t break the bank. You’ll be surprised at how basic—and often free—some of these things can be. A few essentials, and you’re good to go.
SupplyDescription
Miniature paint is specifically designed for models, offering smoother application and better coverage. Army Painter, Vallejo, and Citadel are big names in the game.
Paintbrushes: Invest in a few good-quality brushes in different sizes. They make a world of difference. I’ve found a size 2 round brush to be my workhorse, perfect for base coating and more extensive details, while a size 0 or 00 detail brush is ideal for those fine lines and dots.
Primer Priming your models gives the paint something to grip onto. A black primer can help define those shadowed areas for a bolder look, while white can produce brighter overall tones. Both work equally well; it’s all a matter of personal preference.
Palette for paint mixing: A wet palette keeps your paints from drying out too quickly. I could spend all day telling you how much a wet pallet changed my painting life.
A well-lit work area: Good lighting makes a huge difference. It helps you see details more clearly and prevents eye strain. It also makes it much easier to achieve those smooth blends we talked about earlier. A good light source will help you see what you are painting and prevent eye strain.
A cup of water is essential for cleaning your brushes between colors. This is especially important when working with metallics to avoid unwanted flecks. I actually like to use two cups—one for regular paints and one for metallics—just to be safe.
Paper towels or a clean cloth For blotting excess water from your brushes and wiping away mistakes (it happens to the best of us). Plus, keeping your workspace tidy is always a good thing, right?
Preparing Your Miniatures
Preparation is key. This might sound tedious compared to diving into the painting, but remember that the model needs a little TLC even before you think about those Battle Ready finishes. Take it from someone who learned the importance of a clean mini the hard way. Those imperfections you miss during prep become glaringly apparent once the paint hits them. A well-prepared miniature is the foundation for a beautiful paint job. Before you start, be sure to find a clean work surface that is clean and clutter-free. A dedicated space just for painting will significantly improve your chances of success.
Removing Mold Lines: A Must-Do
Those pesky mold lines? Yeah, get rid of them. It’s the difference between an okay miniature and a fantastic one. Mold lines are those thin lines left behind on miniatures, almost like they’ve been welded together (which they have, kinda). They’re unavoidable in the manufacturing process.
You might be surprised how many high-quality miniatures on the market come riddled with mold lines, which become visible with a layer of paint primer applied. Removing them lets your paint job really shine. Plus, it makes your mini look so much more professional. You’ll thank yourself later.
To do this, gently scrape a hobby knife or a dedicated Citadel Tools Mouldline Remover along the mold line, taking care not to gouge the miniature. If you accidentally scrape off too much material, you can use super glue to fill it back in. Once the glue is dry, sand it down, and you will be ready.
Priming: Setting the Stage for Painting
This one’s essential for a lasting paint job, so don’t even think about skipping it. Applying a layer of primer might seem like a chore, but trust me, it’s vital to creating a surface that acrylic paint will adhere to properly. Without it, you’ll fight a losing battle against paint that flakes and chips off your model with just a touch.
You can use spray paint or an airbrush when priming your miniatures. If you are just starting out, I recommend using an airbrush only after you get the hang of things, as this can get messy. Plus, spray paint can provide excellent coverage and is very cost-effective.
Painting Your Miniature
Alright, let’s discuss how to paint miniatures. With your miniatures prepped, we can begin the fun part—applying the paint. Remember, patience is your best friend when it comes to miniature painting. We want to achieve vibrant, detailed finishes, so take your time and enjoy the process.
Base Coating
Base coating is all about laying down that first solid layer of color on your model. It’s like creating a blank canvas, setting the tone for the highlights and shadows. For base coating, you want smooth, even coverage. It doesn’t need to be fancy – just a clean, solid base will do.
Washes: Adding Depth and Realism
Washes—now these are where things get magical. They settle into the recesses, highlighting those fine details. A well-placed wash will make it look like you spent hours painstakingly shading when in reality, you loaded up a brush, plopped it onto a crevice, and let physics work its magic. It’s like an instant detail boost for your models. This is also an excellent place to use the black paint you purchased to lighten things up.
Highlights: Bringing Out Those Sharp Edges
Edge highlighting involves lightly dragging your paintbrush along your mini’s raised edges and details to catch the light. Use a lighter shade of your base coat for subtle highlights. This gives those sharp edges some pop. Even a simple highlight can make all the difference, bringing your miniatures to life. Edge highlighting is a fundamental aspect of painting miniatures and is worth mastering. You can even use a flat edge for larger areas to get even more precise highlights.
Level Up Your Miniature Painting
Once you feel comfortable with these basic techniques, why not explore more advanced techniques to take your miniature painting to the next level? For example, have you ever considered using sculpting tools to further enhance the details of your miniatures? While not required, sculpting tools can improve your models’ realism by adding battle scars or enhancing musculature.
Drybrushing for Textured Surfaces: Unleash the Power of Texture
Now, dry brushing is your secret weapon for textured areas like chainmail, fur, and even weathered stone. You can use the “slap chop” method to blend multiple contrasting shades quickly—perhaps brown leather armor with a metallic sheen to indicate that the leather has been reinforced with steel bands. Repurposing a mixer commonly found in medical labs and research environments makes it go much faster. It will help you put more colors down more quickly . This will speed up the process if you are painting a big army. If you are just starting, however, I recommend avoiding using one as it will take you longer to learn.
Dip a dry brush (a stiff-bristled brush that’s perfect for this technique) into a metallic paint (like silver for that steel effect). Wipe almost all of it onto a paper towel until barely any paint is left on the brush, then lightly brush it over your leather. The paint will magically cling to those textured parts. It takes some practice to get just the right amount on your brush for perfect dry brushing, but with this, a steady hand, and patience, you can create a fantastic paint job.
Glazing
Ever wonder how some miniatures seem to glow from within like their armor was forged in the heart of a dying star? Yeah, that’s the power of layering, particularly a technique called glazing. We’re talking about building up thin layers of translucent paints (also known as glazes) to gradually deepen the colors on your model. When applying your glaze, ensure you use it in a smooth, even coat of paint, avoiding clumps or streaks. If your glaze does look streaky, don’t worry. You can simply wait for the first coat to dry and then apply another coat to smooth things.
Advanced Techniques: Because Mastering the Basics is Only Half the Fun
Once you’ve grasped the basics of painting miniatures, consider experimenting with a wet palette to blend colors more quickly on your models. Or why not branch out into non-metallic metal (NMM), a technique that involves simulating the appearance of metal surfaces using careful brushstrokes and subtle color transitions, without any actual metallic paints. Mastering these advanced painting methods can seem daunting. Still, if you’ve diligently practiced how to paint miniatures already, trust me, you are well on your way. To help you visualize the color you want, it is a great idea to have reference photos nearby so you can ensure the paint applied gives the desired effect.
Protecting Your Painted Miniature
We’ve put in the time, the patience, the layers of love… now let’s seal the deal, shall we? Trust me, after all the effort of bringing these miniature worlds to life, the last thing you want is for them to get dinged up in storage or—heaven forbid—mid-game. Protecting your miniatures helps ensure they’ll withstand the test of time and handling on your gaming table.
Varnish Your Masterpieces
After spending hours perfecting your painting techniques —those subtle highlights, those incredible gradients you agonized over—you want to seal it all in. I learned the importance of this step the hard way when a particularly rough transport left a beloved miniature scuffed. Talk about heartbreaking. That’s why we use a sealant like varnish. Much like its role in the woodworking world, it provides a protective layer that helps guard against the elements and general wear and tear. If you are working on a large tabletop army or any other miniature, check out their line of varnishes, which will do a great job. Your local game store more than likely sells them and is an excellent place to start.
FAQs about How to Paint Miniatures
How do you prepare miniatures for painting?
Preparing miniatures for painting begins with assembling any unassembled pieces. Carefully trim excess plastic from sprues using specialized clippers to avoid damaging delicate components. After cleaning your models, applying a layer of primer before painting is an essential step in painting miniatures. This creates an optimal surface for your colors to adhere to, ensuring smoother paint application and preventing chipping or flaking over time. This is important because bare plastic is very smooth and will require primer for the paint to adhere properly.
What kind of paint do you use for miniatures?
You will want to choose paints that offer smooth application, intense pigmentation, and durability for intricate details. Acrylic hobby paints are often the top choice. These paints are designed to work well with miniature models. Additionally, acrylic hobby paints are cleaned up with water and come in a wide array of colors and finishes. You can even find specialty paints, such as metallic paints, that can really enhance your paint jobs. Suppose you are trying to determine the best way to decide when choosing acrylic paint. In that case, I’d check reviews and see what more advanced miniature painters on YouTube say about specific hobby acrylic paint brands. You might have noticed that particular paint brands and their different shades keep reappearing—they’re famous for a reason.
How to paint plastic minis?
Painting plastic minis has a lot in common with how to paint miniatures. Always prime your plastic miniature before beginning. Apply thin coats of paint using high-quality brushes to achieve smooth and detailed results. Remember to clean your brush between colors and take your time—multiple thin layers will look much better than rushing with thick coats of paint. Learning to paint straight lines is also a critical aspect of painting miniatures. Don’t get discouraged if it doesn’t look great immediately. Just keep practicing.
Do you need a primer to paint miniatures?
While it’s tempting to skip priming to save time, a primer coat improves paint adhesion and ensures your colors are most vibrant. Trust me, even for “beginner” methods like slap chop, starting with a clean, consistent base makes the entire process much smoother. Also, it can reduce the number of paint layers needed to get your desired color saturation, which also helps prevent the miniature paint from obscuring those all-important model details. Using white paint as your primer can help you see those colors pop. On the other hand, using black paint for your primer will make it much easier to create shadows and give your models more depth.
Conclusion
Mastering how to paint miniatures takes practice and dedication. You might just be surprised at the hidden depths—and incredible artwork—waiting to be unleashed. Remember, it’s not just about learning how to paint miniatures but about enjoying the process, making mistakes, and celebrating those small victories. Now, go forth and breathe life into those miniatures—the tabletop awaits.